Industruino is an Arduino compatible industrial controller.
Our products are suitable for both businesses and individuals looking to take advantage of the flexibility of Arduino for their PLC automation challenges.
Our products are suitable for both businesses and individuals looking to take advantage of the flexibility of Arduino for their PLC automation challenges.
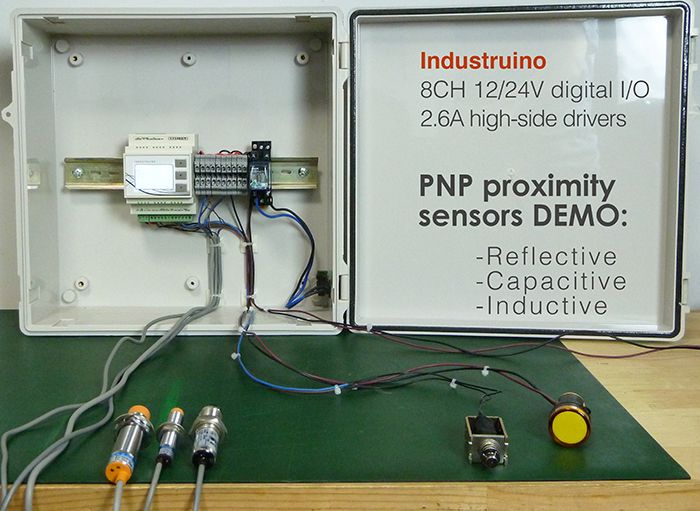
Our "IND.I/O" platform is ideal in situations where you need an out of the box pre-built solution offering a range of industrial voltage level I/O. All controlled with the ease of Arduino coding.
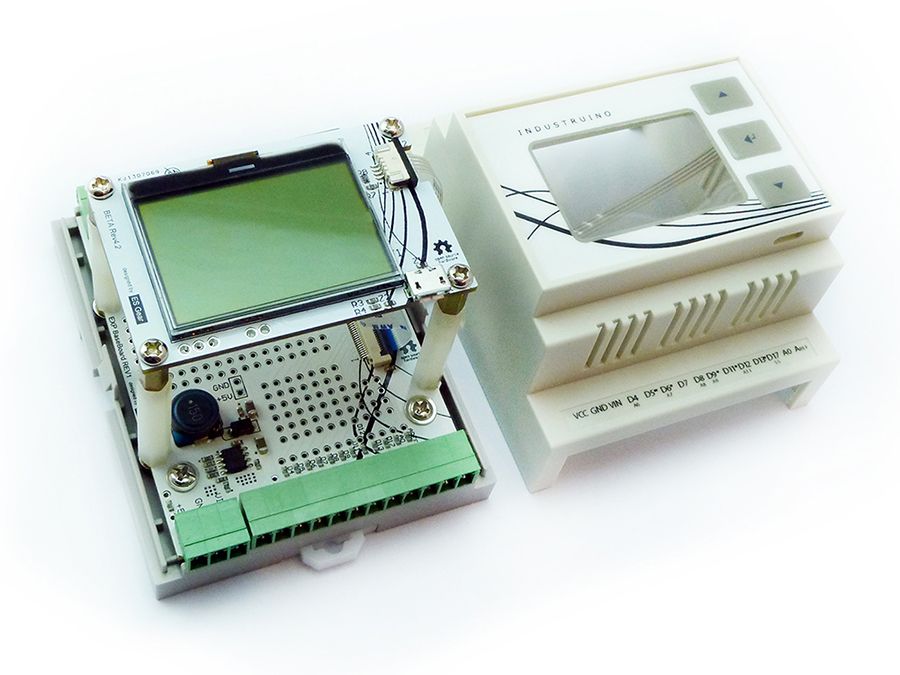
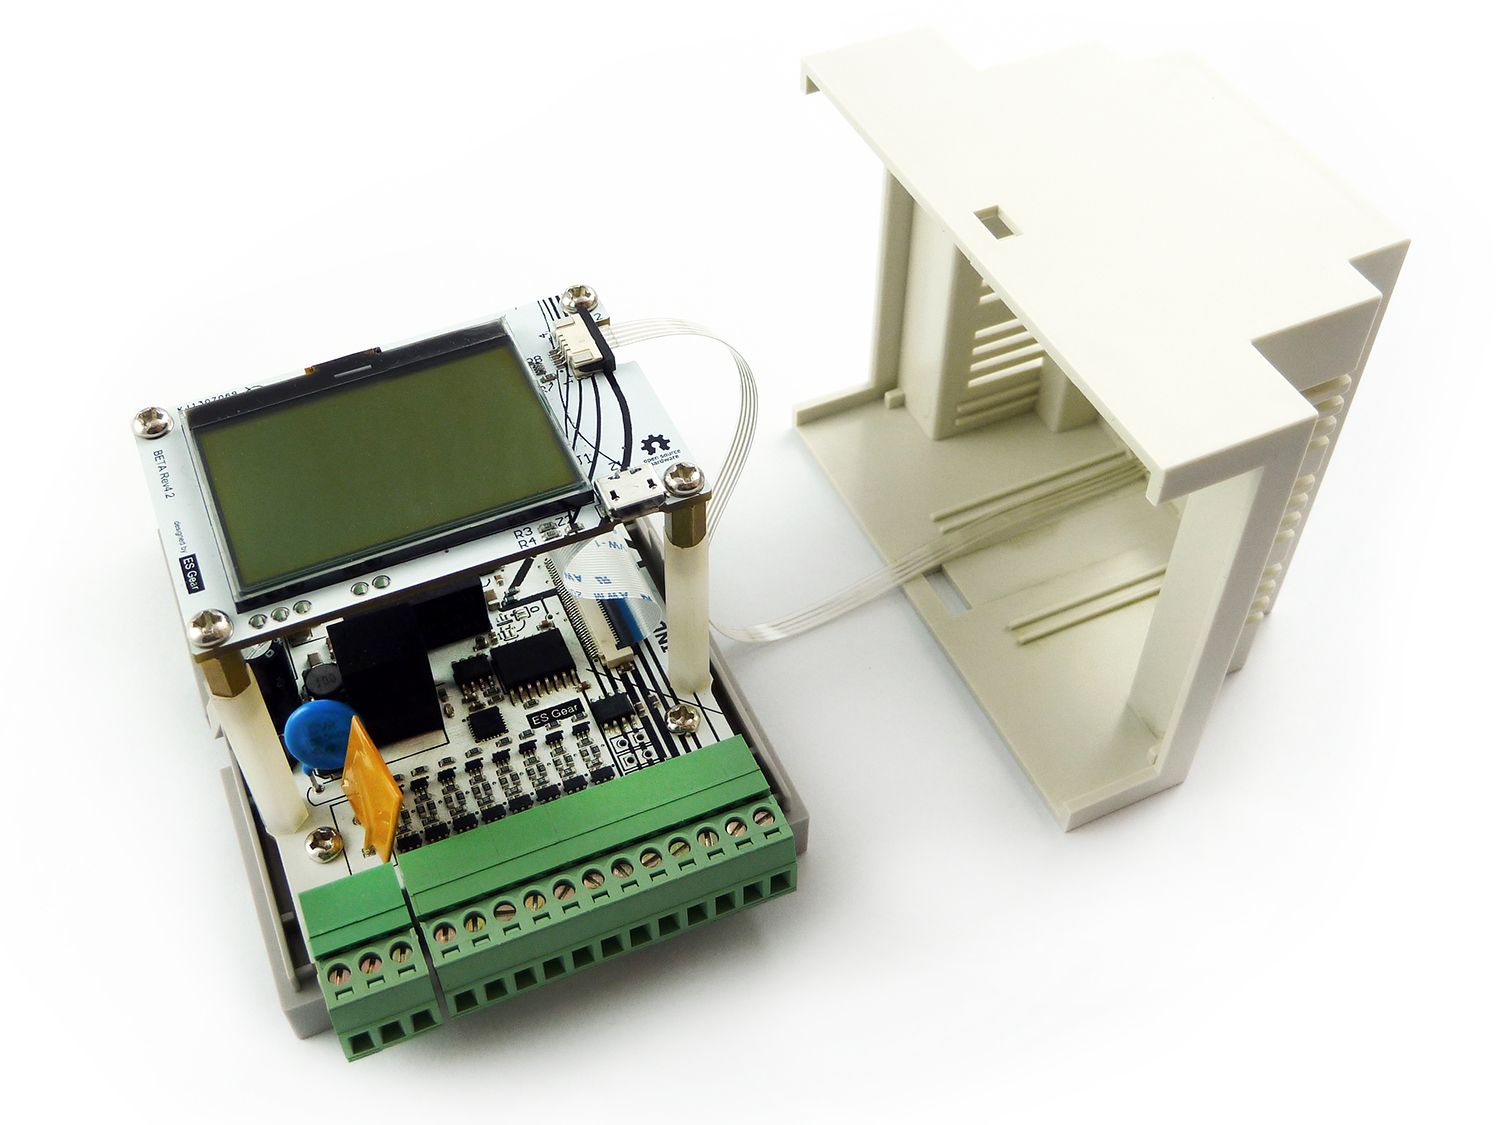
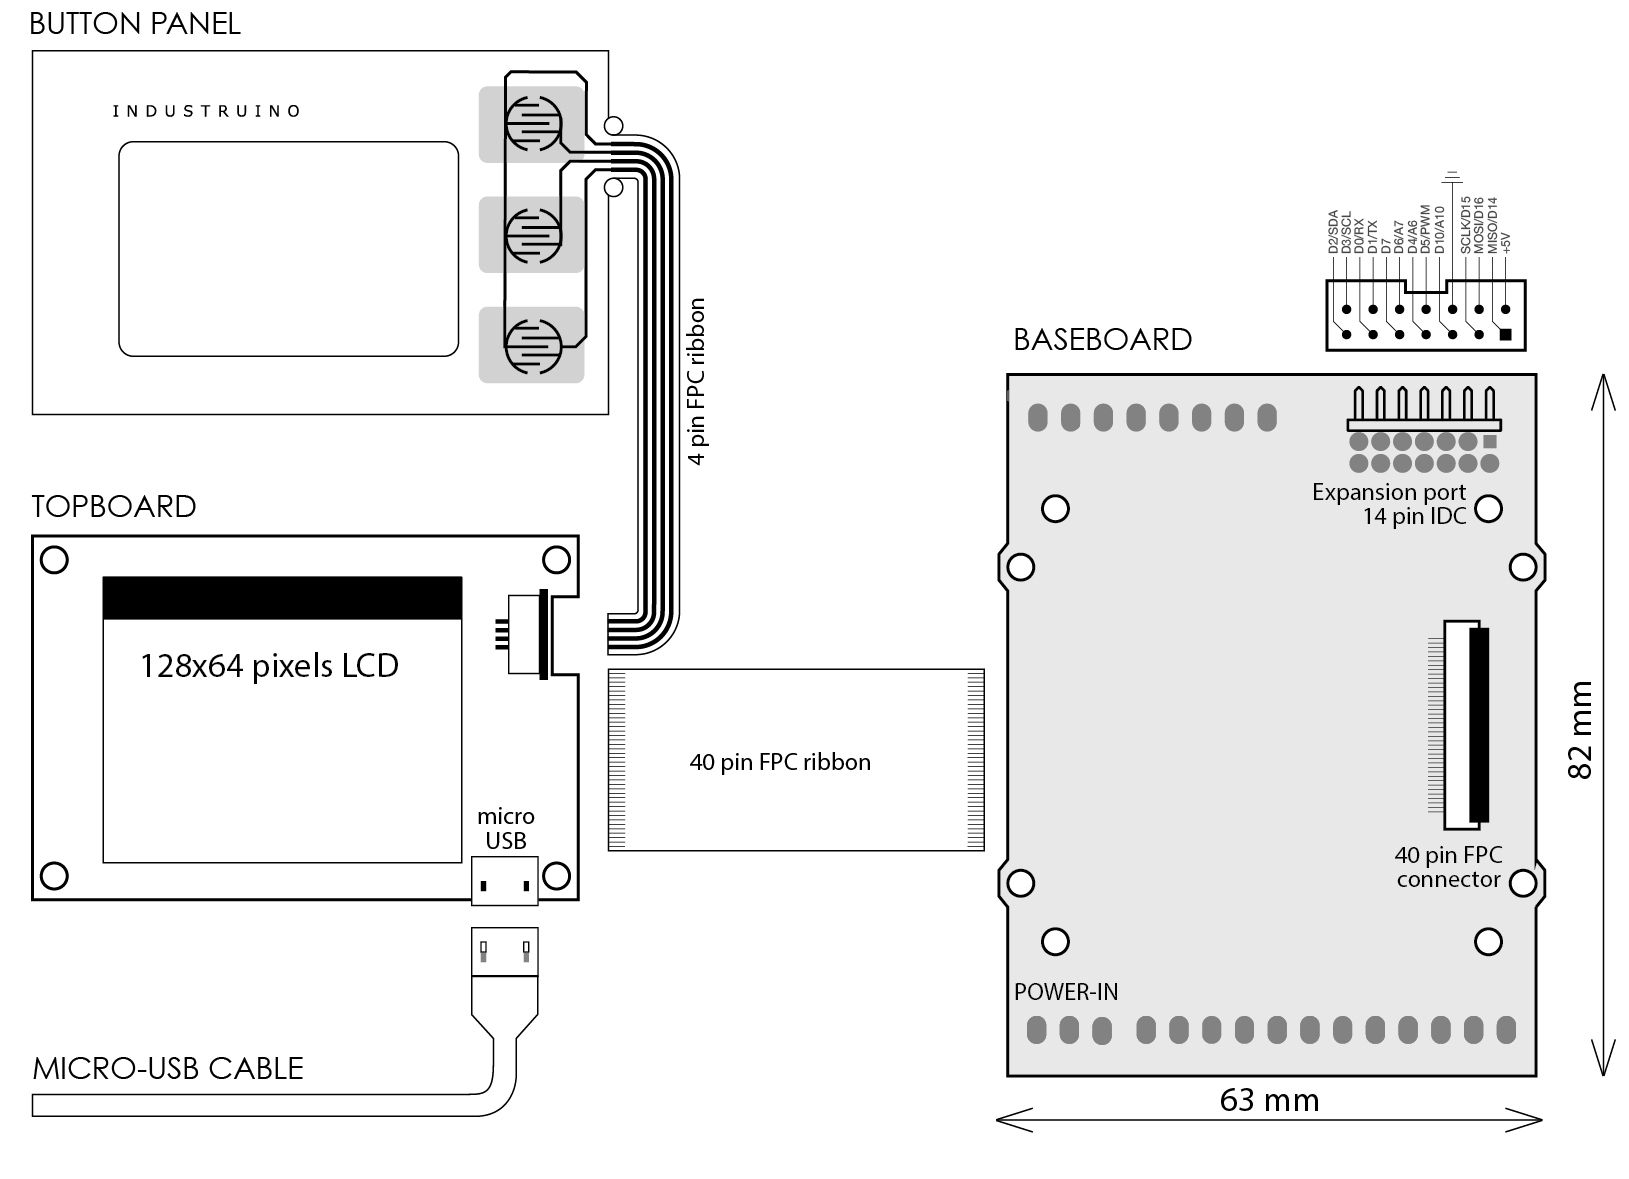
The Topboard is the brain and user interface of Industruino, hosting a microcontroller (Atmega32u4 or AT90USB1286) and LCD screen. All signals connect from this controller board to the Baseboard via a 40pin FPC cable.
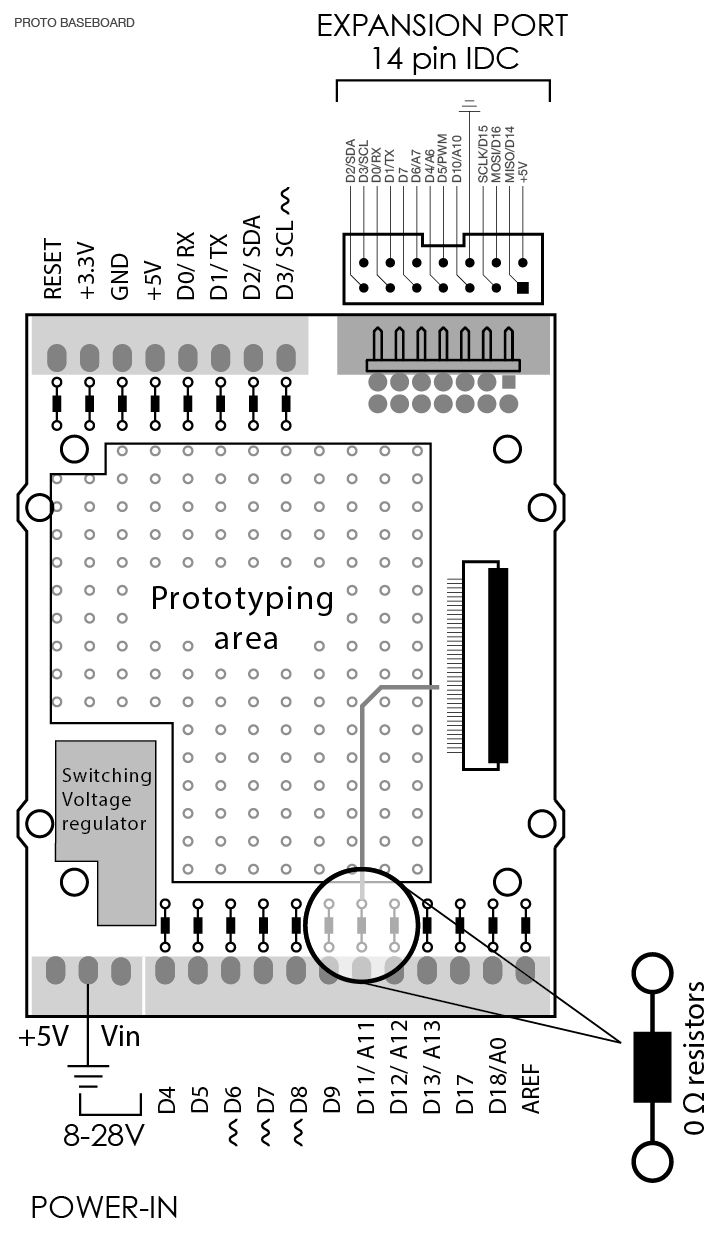
Proto Baseboard features:
+5V connection on bottom left 3 pin power connector is by default not connected to the internal 5V rail. This is to protect from accidental connection to Vin voltage. The 5V rail can be connected to the external connector by bridging the jumper labelled "+5V out" on the bottom side of the board.
The PROTO baseboard has 20 screw connectors that by default are connected to the MCU pins via 0 Ohm resistors.
1) 0 Ω resistors can be removed to disconnect MCU pin from external connector.
2) 2 pads are available per pin; one to connect your internal components to an MCU, the other to connect your internal components to the external connectors.
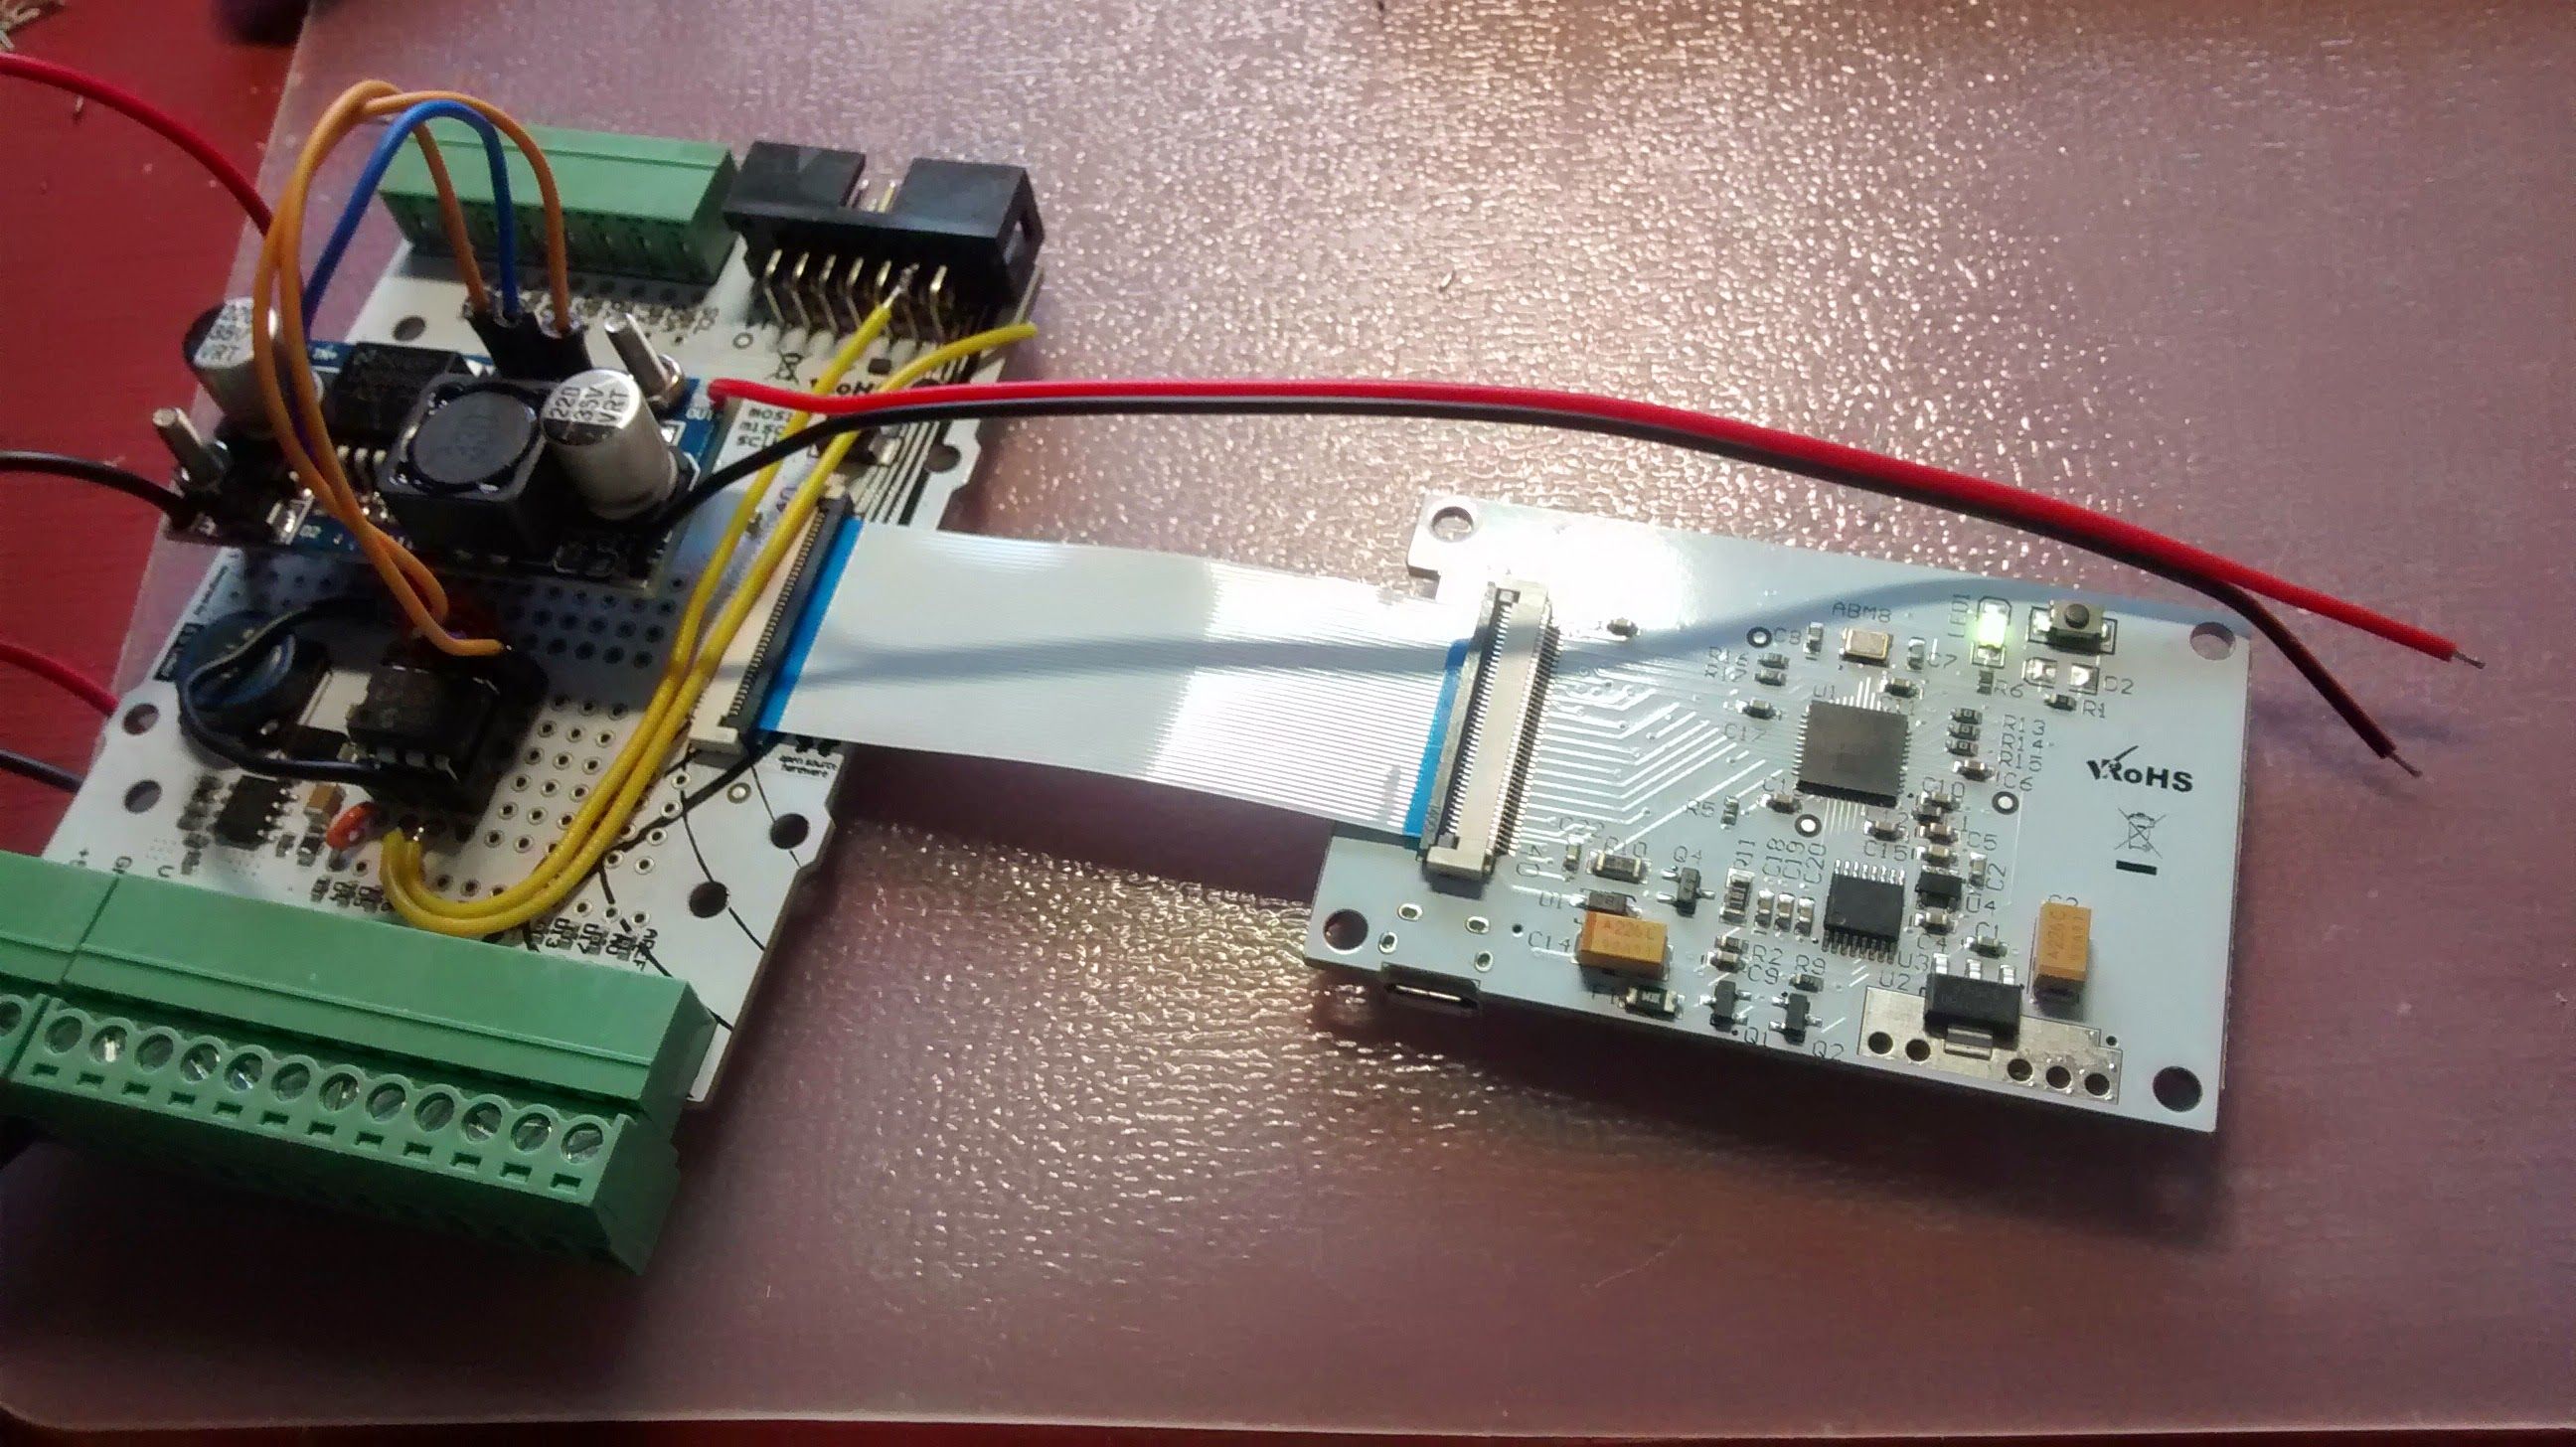
A DC/DC converter was used that is controlled by a digital potentiometer and PID control. Read more >
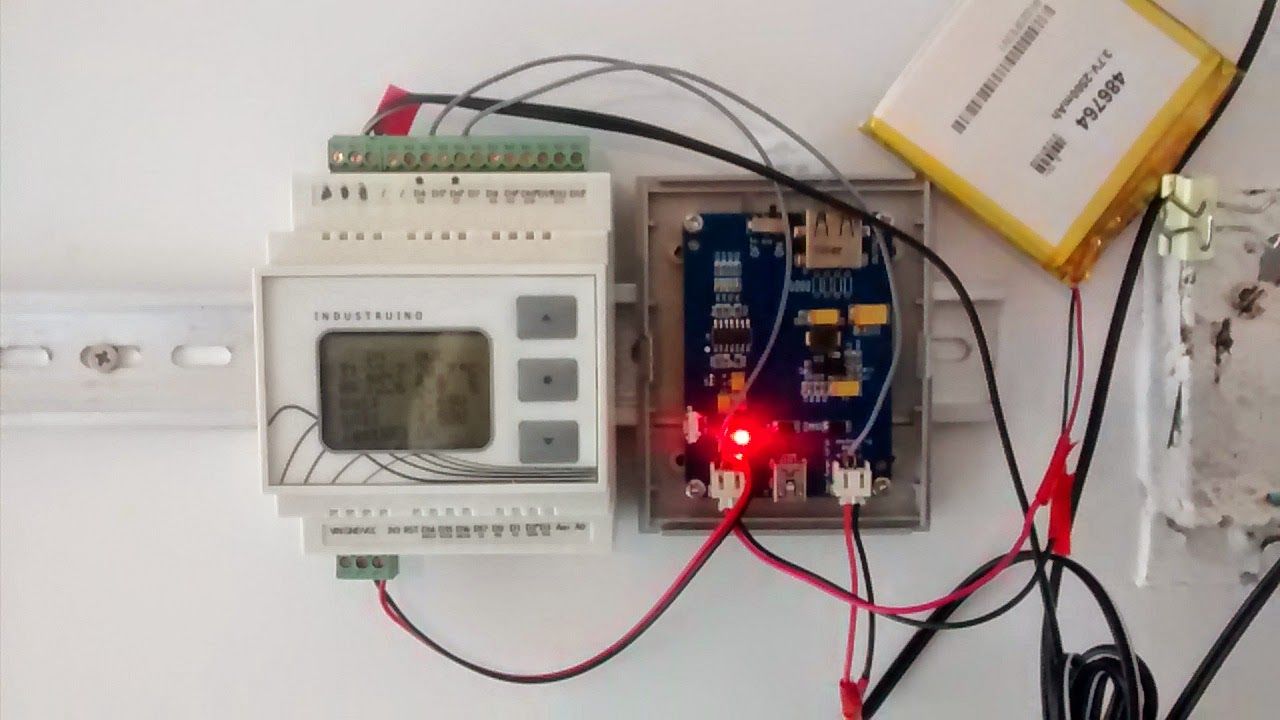
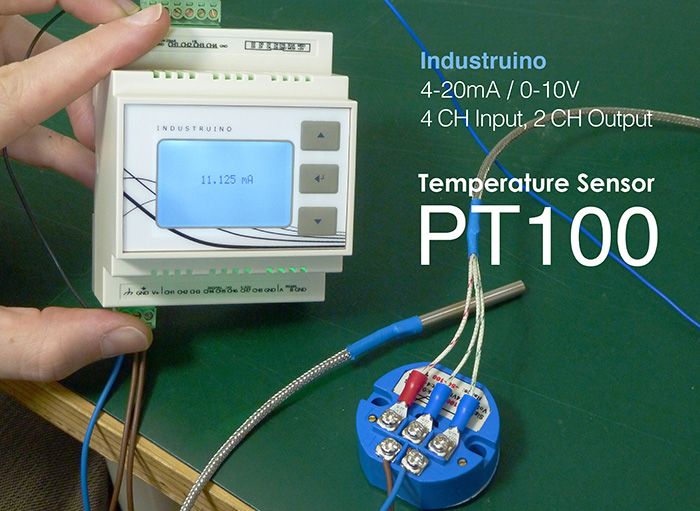
Industruino was used to monitor temperature and humidity to improve energy consumption. Read more >
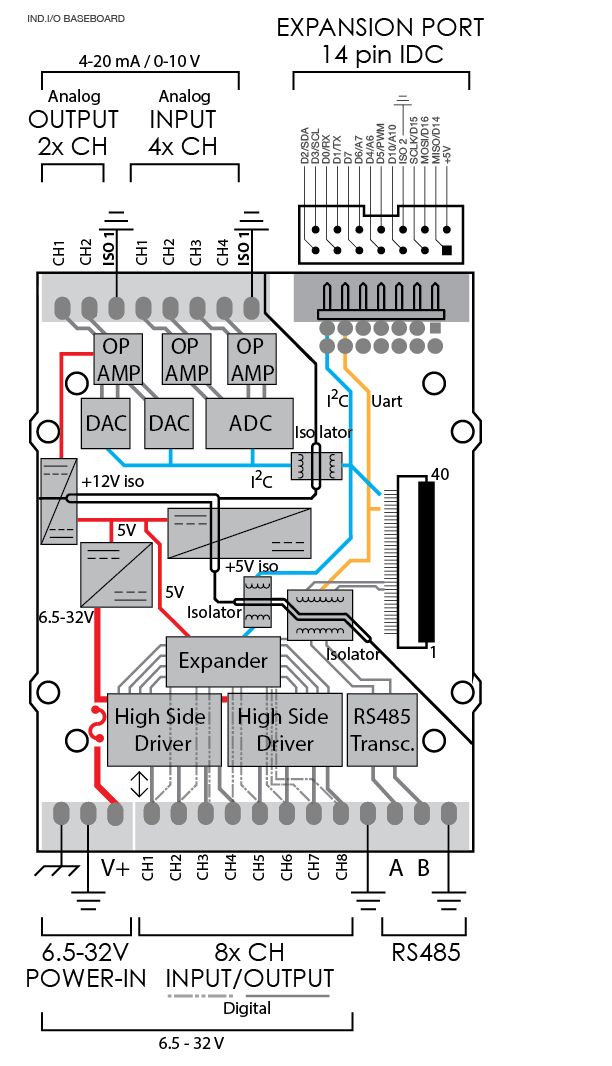
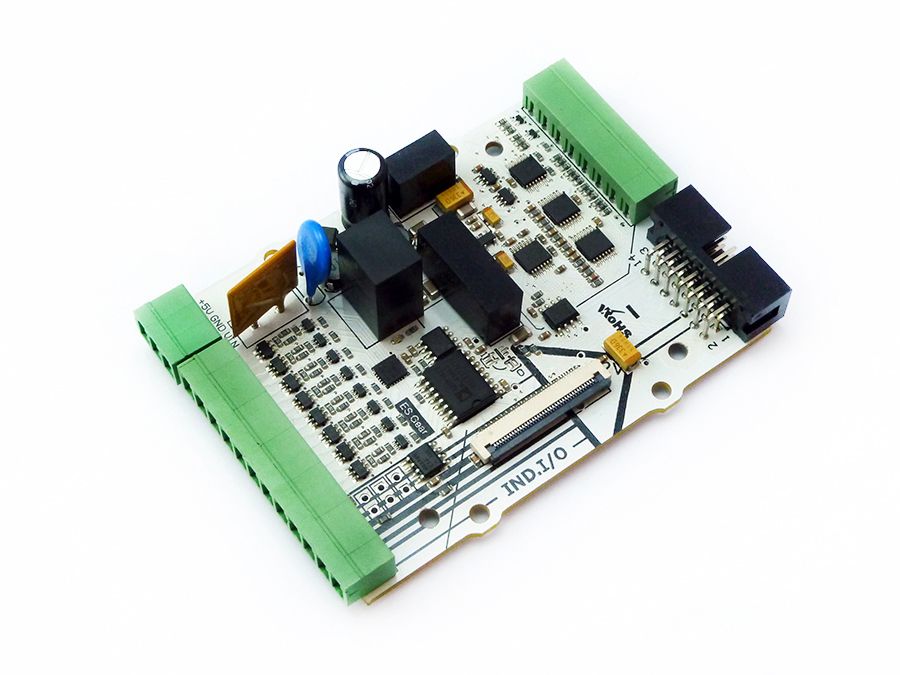
Ind.I/O Baseboard features:
*"Power-in /digital field zone", "Analog field zone" and "MCU zone" are isolated from each other. Where single power supply is used for both power-in and analog peripherals the respective GND's need to be tied together.
*The majority of IND.I/O board functions are controlled via i2c, therefore it requires the "Indio" library which can be found on our website.
PROTO kit
The PROTO kit functions as a standard Arduino Leonardo, meaning you can use the standard Arduino example sketches to control the I/O.
IND.I/O library
The IND.I/O kit interfaces with higher voltages (12V/24V) and has I/O functions a standard Arduino doesn't have. Therefore you need to control the I/O with the included Indio library. This library will accept the simple code syntax that you are used to with Arduino and will take care of all the configuration and interfacing that happens below, leaving you to focus on getting the job done. Use the included example sketches as a starting point for your custom code.