Measuring temperature and humidity
Late 2013 I got the idea to integrate an Industruino in my home energy monitoring system based on the OpenEnergyMonitor.org and cloud storage at emoncms.org. Temperature and humidity are an important factor in energy consumption in a subtropical climate like Hong Kong.
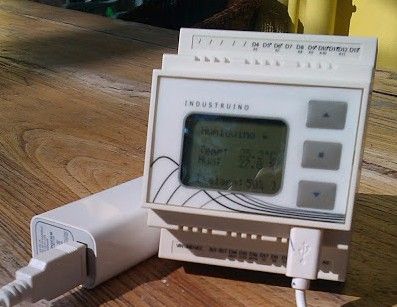
To familiarise myself with the Industruino setup, I started with a simple temperature/humidity sensor (DHT22) and a piezo buzzer soldered on the prototyping area, to display the temperature and humidity on the screen. The up/down buttons control the backlight, and the enter button goes into a menu to set the alarm level for the humidity. Then this level is exceeded, the buzzer sounds every 3min.
The next step was to send these data into the cloud via a wifi connection. I experimented a bit with the CC3000 wifi chip but that seemed unstable and rather expensive, and by the end of 2014 the ESP8266 wifi chip looked very promising.
Adding wifi with the ESP8266
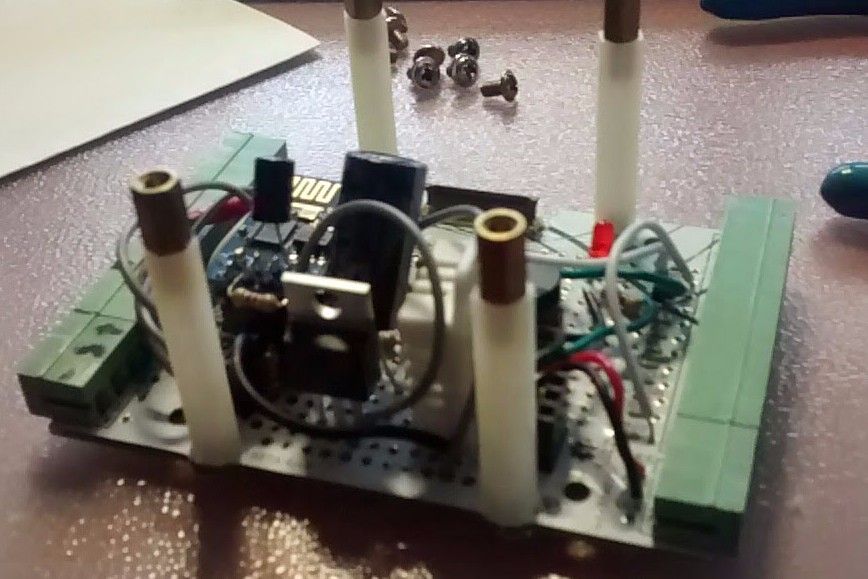
The ESP8266 that I used comes with 4x2 male pins so I added a header on the Industruino prototyping board to plug it in. It operates on 3V3 and can draw up to 200mA so I added a 500mA 3V3 voltage regulator and a large capacitor. The ESP8266 has a Serial interface; I used the standard Software Serial library to communicate with it at 9600 baud, connecting to emoncms.org and posting data to my account there.
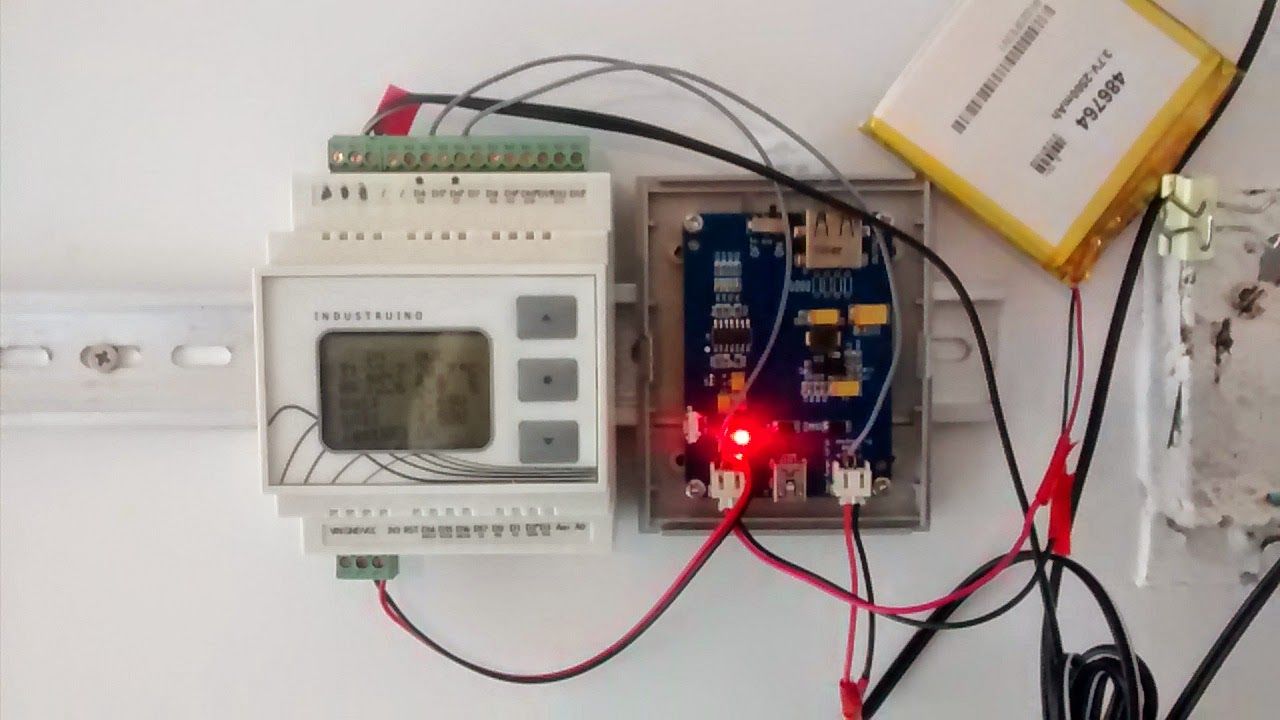
I run this system off a single cell LiPo battery (3.7V 2500mAh) charged by a 2W solar panel via Seeedstudio's LiPo Rider Pro, the blue board in the picture below. This board is mounted in an empty Industruino box placed next to it. The solar charger board includes a USB 5V output but unfortunately that booster is quite inefficient so I am running the Industruino (Vcc) straight from the LiPo battery which seems to work fine, including the LCD, the DHT, and the ESP8266 with the 3V3 regulator (still need to test for a longer time).
Solar powered LiPo battery
I put the voltages of the solar panel and the battery through a voltage divider into 2 analog pins of the Industruino, using the internal analog reference of the ATmega. In addition to the DHT22 inside the Industruino, I also connect a second DHT which is positioned outside under the solar panel. The Industruino's connectors make this very convenient to install and maintain.