By popular demand, we have tested the Blynk.cc mobile IoT app, and we confirm it's easy to get to work on the Industruino platform (IND.I/O and PROTO).
Start with the instructions standard instructions here, and when you create your project in the app, use board: "Arduino Zero" and connection type: "Ethernet". Our D21G microcontroller is the same as used on the Arduino Zero board.
Install the Blynk library.
We need to use the Ethernet2 library, which is based on the W5500, also used in the Industruino Ethernet module.
Copy the demo sketch below and insert your AUTH token.
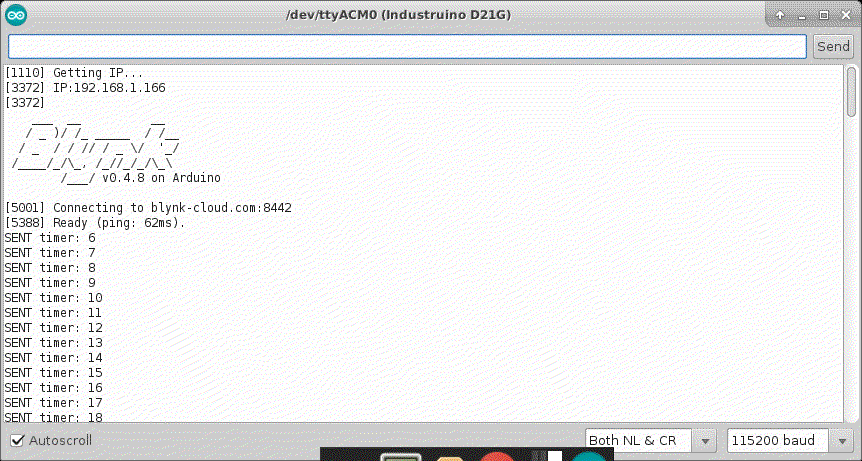
Open your Serial Monitor to find the output as in the picture on the left.
Please note that you have to comment out the while (!Serial) line when you want to run your Industruino without USB connection.

The demo code shows the 2-way communication between the Blynk app on a mobile phone/tablet, and the Industruino connected to the internet.
The Industruino runs a counter, printed on the LCD, and sends it to the app every second, using a Blynk timer. The number shows up in the app.
The app has a button to control the backlight of the Industruino LCD, in the same was as it can control any output of the Industruino.
A short VIDEO is available in this link.
The Blynk library and website have many examples of other functionality.
CODE for the Industruino D21G
/*************************************************************
  Download latest Blynk library here:
    https://github.com/blynkkk/blynk-library/releases/latest

  Blynk is a platform with iOS and Android apps to control
  Arduino, Raspberry Pi and the likes over the Internet.
  You can easily build graphic interfaces for all your
  projects by simply dragging and dropping widgets.

    Downloads, docs, tutorials: http://www.blynk.cc
    Sketch generator:           http://examples.blynk.cc
    Blynk community:            http://community.blynk.cc
    Social networks:            http://www.fb.com/blynkapp
                                http://twitter.com/blynk_app

  Blynk library is licensed under MIT license
  This example code is in public domain.

 *************************************************************
  This example shows how to use Arduino.org Ethernet Shield 2 (W5500)
  to connect your project to Blynk.

  NOTE: You may have to install Arduino.ORG IDE to get it working:
          http://www.arduino.org/software

        Pins 10, 11, 12 and 13 are reserved for Ethernet module.
        DON'T use them in your sketch directly!

  Feel free to apply it to any other example. It's simple!

 *************************************************************
   adapted to INDUSTRUINO D21G with Ethernet module
   Tom Tobback Sep 2017
   create project with 'Arduino Zero' and 'Ethernet'

   used examples: PushData (timer)
   and BLYNK_WRITE (button in app)
 *************************************************************/

#include <UC1701.h>      // Industruino LCD
static UC1701 lcd;

/* Comment this out to disable prints and save space */
#define BLYNK_PRINT SerialUSB   // Industruino usb serial

#include <SPI.h>
#include <Ethernet2.h>
#include <BlynkSimpleEthernet2.h>

// You should get Auth Token in the Blynk App.
// Go to the Project Settings (nut icon).
char auth[] = "xxxx";

boolean button = false;   // status of button in app, virtual pin V0
BlynkTimer timer;

// This function sends Arduino's up time every second to Virtual Pin (5).
// In the app, Widget's reading frequency should be set to PUSH. This means
// that you define how often to send data to Blynk App.
void myTimerEvent()
{
  // You can send any value at any time.
  // Please don't send more that 10 values per second.
  Blynk.virtualWrite(V5, millis() / 1000);
  SerialUSB.print("SENT timer: ");
  SerialUSB.println(millis() / 1000);
}


void setup()
{
  pinMode(26, OUTPUT);  // Industruino backlight pin

  lcd.begin();
  lcd.setCursor(2, 0);
  lcd.print("Industruino");
  lcd.setCursor(2, 1);
  lcd.print("BLYNK Demo");

  // Debug console
  SerialUSB.begin(9600);
  while (!SerialUSB);   // Industruino: only for debugging when USB is connected

  Blynk.begin(auth);
  // You can also specify server:
  //Blynk.begin(auth, "blynk-cloud.com", 8442);
  //Blynk.begin(auth, IPAddress(192,168,1,100), 8442);
  // For more options, see Boards_Ethernet/Arduino_Ethernet_Manual example

  timer.setInterval(1000L, myTimerEvent);

}

void loop()
{
  Blynk.run();
  timer.run(); // Initiates BlynkTimer

  digitalWrite(26, button);   // Industruino backlight

  lcd.setCursor(2, 4);
  lcd.print(millis() / 1000);
}

BLYNK_WRITE(V0) // button pin in app is writing to pin V0
{
  button = param.asInt();
  SerialUSB.print("RECEIVED button: ");
  SerialUSB.println(button);
}